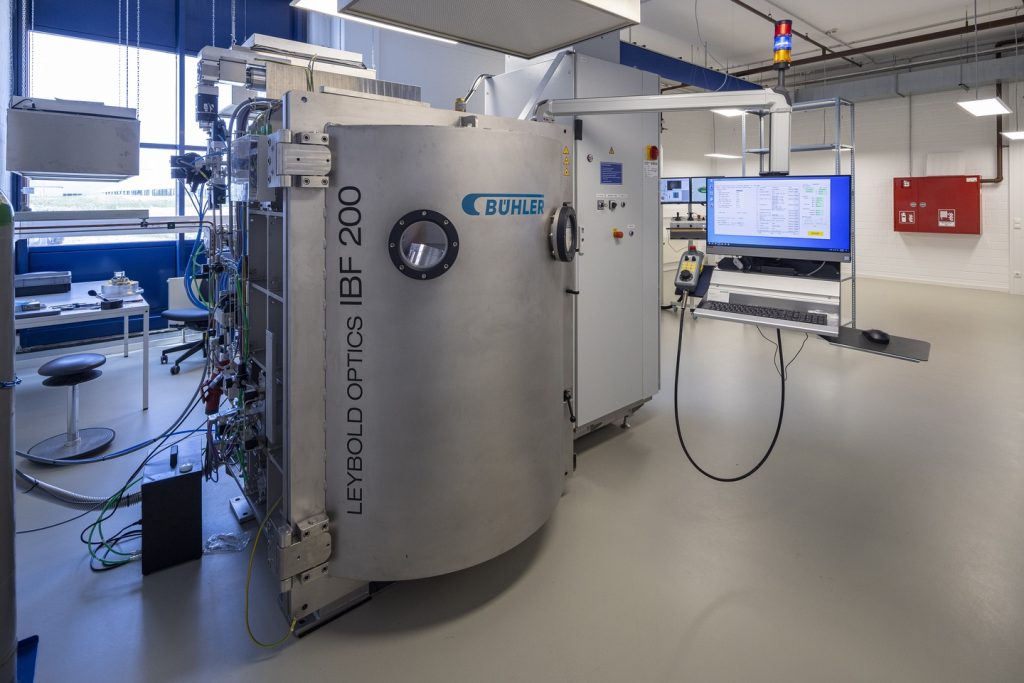
High-end technology to minimize surface form deviations
The demands placed on precision optics, such as those used in the semiconductor industry or in medical technology, are constantly increasing.
Sufficiently good surface form deviations can already be achieved with conventionally polished optics. The additional requirements for form deviations, in particular their irregularity (fine-pass error), can be controlled using various methods.
Ion Beam Figuring
In order to meet higher requirements for surface form deviation, polishing correction with spatial resolution is necessary. Different approaches can be used for this spatially resolved production of high-precision surfaces. In addition to CNC polishing, magnetorheological polishing (MRF) or ion beam figuring (IBF) are possible enhancing technologies.
While MRF polishing uses a mechanical polishing agent in a magnetizable liquid solution to fine process the optical surface, ion beam figuring involves directing a beam of ionized and accelerated noble gas atoms onto the material surface.
Ion beam figuring has several advantages in direct comparison. Among other things, surface defects are prevented as no mechanical contact is necessary. The lens can also be processed beyond the edge of the lens and with a frame, while at the same time there are fewer restrictions in the lens geometry and higher accuracies tend to be achieved.
During ion beam figuring, atoms are knocked off of the substrate surface by the kinetic energy of the ion beam. By controlling the dwell time per surface element of the workpiece, spatially resolved processing can be carried out and even the smallest remaining shape deviations and residual defects can be corrected.
The prerequisite for this process is a high-precision measurement of the wafe front error before machining in order to calculate a software-supported correction. Typical removal rates of around 2nm/s can be achieved. With POG, the correction is carried out on typical surface elements (tool diameters) of ø1mm-ø8mm.


Example of use
The following is an example of the results that can be achieved using IBF correction. The illustration shows the measurement results of an IBF correction on a lens with ø54mm and a radius of curvature (ROC) of 67mm.
The aim is to set a fine-pass error of 3/2 (0.08).
After pitch polishing, an irregularity of 0.19 was measured. The irregularity was reduced to 0.04 by IBF processing, resulting in a significantly better lens for the imaging quality of the optical system.

Fig.: Interferometer results before IBF correction (left) and after IBF correction (center). The fine-pass error of 0.19 (pitch polishing) was reduced to 0.04 with the ion beam correction. The detailed image on the right illustrates the results.
What our expert says:
“Ion beam figuring is used to correct the shape of substrate surfaces. Ions are accelerated so strongly onto the target surface that atoms are knocked off. This enables us to achieve shape accuracy in the nanometer range. Together with the appropriate measurement technology, we produce optical systems for high-end applications. It is not always only necessary to produce an absolutely precise surface. Often, errors that are specially adapted to a lens are desirable to correct overall errors in the system. This requires additional techniques such as our wavefront test bench to identify customized corrective measures. Particularly fascinating is that the accuracy of the surface can be greatly improved in a single processing step. After prescribed machining, the surfaces achieve their desired shape without further iteration.
We employ this technology when conventional lens processing reaches its limit. This enables us to produce highly apertured lenses with diffraction-limited optical images, for example.”

Mathias
Development Engineer


